When checking out, simply select the "New Customer" option. All you need to get started is a valid email address and a secure password of your choosing. After your purchase is complete, your account will be created, and you will immediately gain all the benefits of being an account holder. If you have previously placed an order with us as a guest, you can try using the "Forgot Password" feature under the "Sign In" tab.
Benefits of having an account:
Real-time status updates on all your orders and returns.
Ability to view detailed order history.
Eligibility to enroll in subscription items for recurring discounts.
Access to more store features and quicker customer support.
Connection to a dedicated sales representative if placing bulk orders.
Manage your account settings:
Update your email address and password.
Unsubscribe from email promotions.
Manage item subscriptions.
Delete your account and remove your information.
We respect your privacy and are committed to protecting any personal information you may provide us through our Website. View our privacy policy for more info.
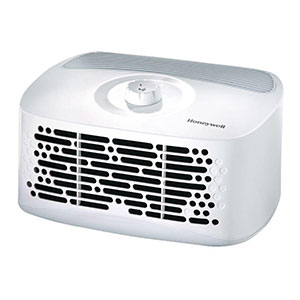
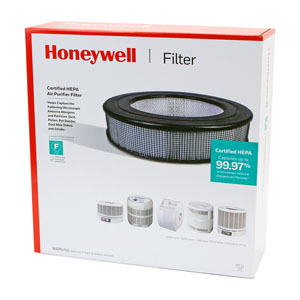
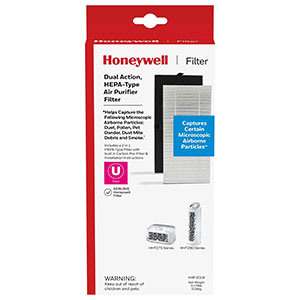
Replacing your Honeywell Air Purifier Filters on schedule is the most effective way to maintain peak Clean Air Delivery Rate (CADR) efficiency, protect the fan motor, and keep indoor air free of dust, pollen, pet dander, and odors. Installing fresh genuine filters ensures your purifier continues capturing microscopic airborne particles down to 0.3 microns.
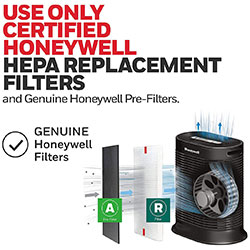
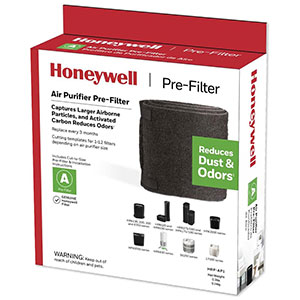
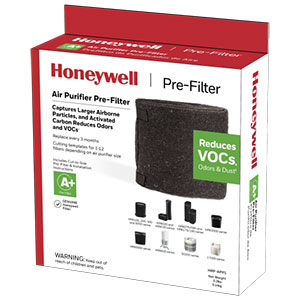
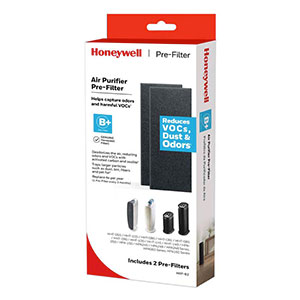
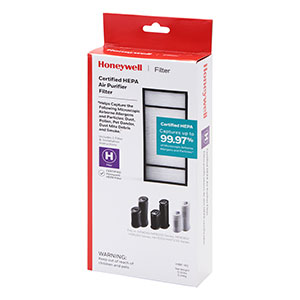
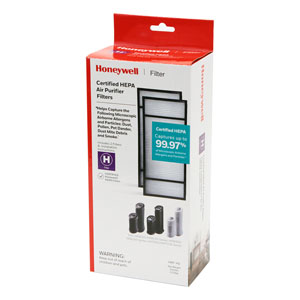
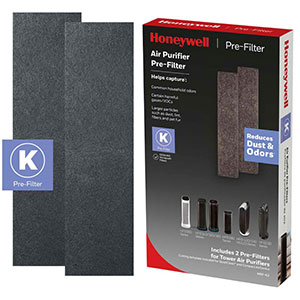
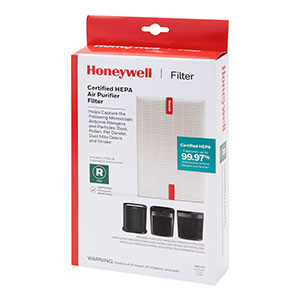
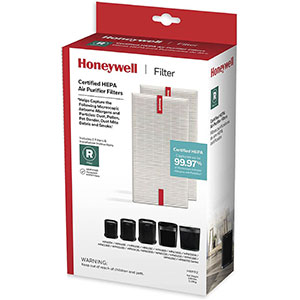
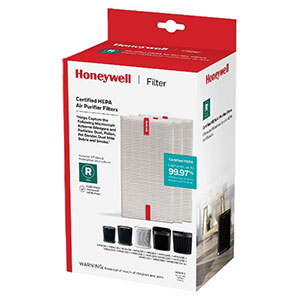
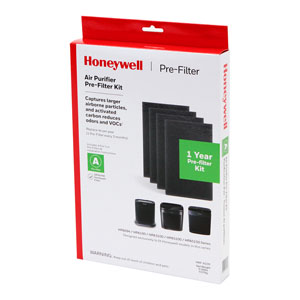
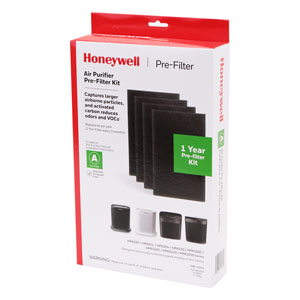
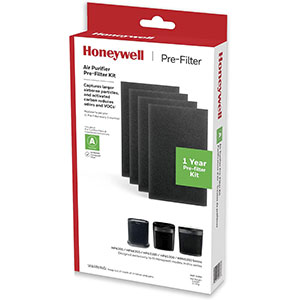
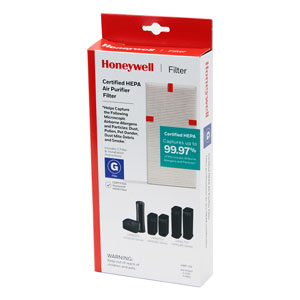
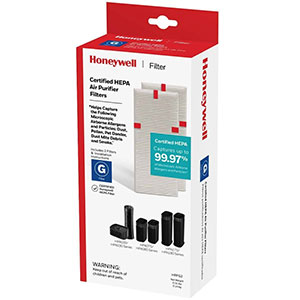
As a standard rule, Honeywell Type A charcoal pre-filters should be replaced every 3 months, while Honeywell True HEPA filters (such as Type R or Type H) should be replaced every 12 months.
This step-by-step filter replacement guide walks you through safely removing old filters, verifying proper filter orientation inside the compartment, and resetting the filter indicator light on your machine.
Phase 1: Preparation & Removing Old Filters
Before replacing your air purifier filters, ensure the unit is completely disconnected from power to prevent the fan motor from running while the filter compartment is open.
Preparation Checklist
Power down and unplug: Turn off the purifier and disconnect the power cord from the wall outlet.
Open the front grille: Locate the release tabs on the sides or top edge of the front panel and pull the grille forward to remove it.
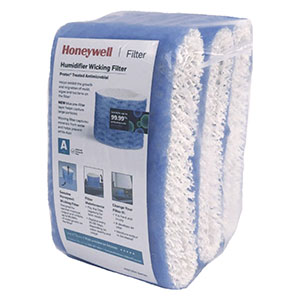
Remove the dirty pre-filter: Unhook the Type A charcoal pre-filter from the corner retaining tabs and dispose of it in the trash.
Extract the True HEPA filter(s): Pull the small fabric removal tabs on each Type R HEPA filter to slide them straight out of their vertical slots.
Quick wipe-down: Use a dry microfiber cloth or a brush vacuum attachment to clear any loose dust or pet hair settled along the inside edges of the intake grille.
Phase 2: Installing New Filters & Proper Orientation
Honeywell Air Purifiers rely on multi-stage filtration. Installing your replacement filters in the correct direction and order ensures clean airflow and prevents premature filter clogging.
Correct Filter Installation Order
Unwrap all new packaging: Completely remove and discard the clear plastic wrapping from every new HEPA filter and pre-filter.
Install the Type R HEPA filter(s) first: Slide the HEPA filter(s) into the deepest slots inside the filter compartment, making sure the removal pull tabs face outward toward you.
Layer the Type A charcoal pre-filter on top: Position the pre-filter flat across the front of the HEPA filters and secure the edges under the designated retaining clips. The pre-filter must face the front intake grille.
Reattach the front cover: Align the bottom hinge tabs into the base of the unit, then push the top of the grille inward until it firmly snaps into place.
Why order matters: The charcoal pre-filter captures large dust, pet fur, and neutralizing odors first, protecting the delicate True HEPA media behind it so it can filter fine microscopic allergens down to 0.3 microns.
Important Installation Reminder
Never operate your Honeywell Air Purifier with filters still inside their plastic packaging.
The clear plastic bags protect the filters during shipping only. Running the purifier with plastic still
attached severely restricts airflow, reduces filtration efficiency, and may place unnecessary strain on the
fan motor.
How to Put Filters in a Honeywell Air Purifier
Most Honeywell Air Purifiers use a layered filtration system. Install the True HEPA filters first inside the filter
compartment, followed by the charcoal pre-filter positioned toward the front grille. Always verify the airflow
arrows on the HEPA filter frames point toward the motor rather than outward toward the room.
Phase 3: Reset the Filter Reminder Lights
After replacing the filters, many users expect the filter reminder light to turn off automatically. However,
Honeywell Air Purifiers use internal runtime timers rather than sensors to monitor filter life. The purifier cannot
detect when a new filter has been installed.
How to Reset the Filter Light
Plug the air purifier back into the wall outlet.
Turn the unit ON.
Locate the illuminated Check Filter or Check Pre-Filter indicator.
Press and hold the corresponding button for approximately 3 full seconds.
Release the button after the indicator light turns off.
Once the light clears, the internal maintenance timer begins counting operating hours again until the next
scheduled filter replacement.
Honeywell Air Purifier Filter Change Schedule
Carbon Pre-Filter: Approximately every 3 months.
True HEPA Filter: Approximately every 12 months.
Homes with pets, smokers, heavy cooking odors, or high pollen levels may require more frequent filter replacements.
Phase 4: Troubleshooting Filter Reset Problems
If your Honeywell Air Purifier filter light won't turn off after replacing the filters, don't worry. The issue is usually related to the reset procedure rather than the filters themselves.
Filter Light Troubleshooting
Verify the purifier is powered ON before attempting the reset.
Make sure you're pressing the correct button for the illuminated indicator.
Hold the button continuously for at least 3 seconds.
If the light remains on, try a quick tap of the button followed immediately by another firm 3-second
press and hold.
Disconnect power from the wall outlet for approximately 30 seconds, reconnect the purifier, then repeat
the reset procedure.
Confirm the front grille is fully closed and properly latched before attempting another reset.
Because the filter reminder operates using a timer rather than a filter sensor, replacing the filters alone
will never clear the alert. The reset procedure must always be completed manually.
Keep Your Honeywell Air Purifier Performing Its Best
Following a regular maintenance routine helps maximize airflow, reduce airborne allergens, and extend the life of your air purifier. Replacing both the pre-filter and HEPA filter on schedule allows the purifier to
continue capturing dust, pollen, pet dander, smoke, and other airborne particles efficiently.
Frequently Asked Questions
What happens if I put the pre-filter behind the main HEPA filter?
Installing the filters in the wrong order reduces the effectiveness of the filtration system. The charcoal
pre-filter should always face the front grille so it captures larger particles and odors before air reaches the
True HEPA filters. This also helps extend the life of the HEPA filters.
Can I extend the life of my filter by vacuuming it?
Honeywell True HEPA Filters are not designed to be washed or vacuumed. Cleaning the filter media can damage the
microscopic fibers responsible for capturing airborne particles and reduce overall filtration efficiency.
Replace the filters according to the recommended maintenance schedule.
How often should I follow this replacement routine?
Replace the charcoal pre-filter approximately every 3 months and the True HEPA filter about every 12 months under normal operating conditions. Homes with pets, smokers, or elevated airborne contaminants may require more frequent replacements.
Why does my new filter still have a plastic smell?
Some new carbon pre-filters may have a slight odor when first installed due to the activated carbon material or packaging. This is normal and typically dissipates after a short period of operation. Be sure all plastic shipping bags have been completely removed before using the purifier.
Can I use aftermarket replacement filters instead of genuine Honeywell Filters?
While compatible aftermarket filters are available, genuine Honeywell Replacement Filters are designed and tested to fit your specific model and help maintain the expected airflow and filtration performance. Always verify compatibility before installing any replacement filter.
Explore Honeywell air purifier guides to troubleshoot common questions, find compatible replacement filters, and create a cleaner and more comfortable indoor environment.
Contact options may differ depending on the type of help you need.
Cookie Preferences
This site uses a small number of cookies to provide a secure and reliable shopping experience.
Required cookies are set directly by this site and are used only for essential store functions such as maintaining your shopping cart, processing checkout, providing security, and keeping the site working properly. We also use optional Google cookies for website analytics and advertising measurement. You can choose whether to allow these Google cookies below.
Required Cookies
These cookies are necessary for essential website functions, including your shopping cart, checkout, site security, and maintaining your shopping session. These cookies are set directly by this site and cannot be disabled.
Always Active
Google Analytics & Advertising Cookies
We use Google services to understand how customers use this site, improve site performance and navigation, and measure the effectiveness of our advertising. These cookies are optional. Turning them off will not affect your ability to browse, shop, or complete an order.
Learn more about how we protect your information in our Privacy Policy.