



Thermostat Guides and Support
Find Honeywell thermostat support for choosing the right model, installation, wiring, programming, troubleshooting, battery replacement, resets and everyday use.
Related Topics:

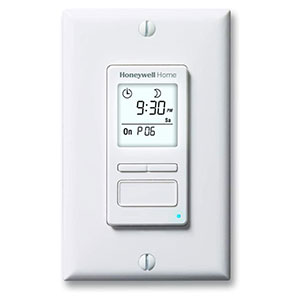

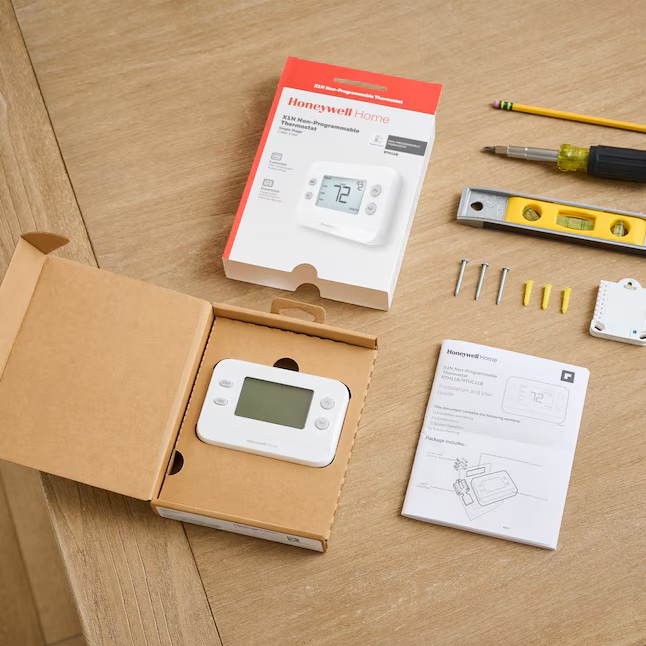
Learn how to install a Honeywell thermostat, prepare your HVAC system, label existing wires, mount the new base plate and connect a standard or smart thermostat with confidence.
This thermostat installation guide is designed to help homeowners understand the basic steps involved in replacing or installing a Honeywell thermostat. Whether you are learning how to install a non programmable thermostat or preparing for smart thermostat installation, the most important first steps are safety, wire identification and system compatibility.
Always follow the installation instructions included with your specific Honeywell thermostat model. Thermostat wiring can vary by HVAC system, and some systems may require professional installation.
Before starting your installation thermostat Honeywell project, make sure the new thermostat is compatible with your heating and cooling system. Some thermostats are designed for standard forced-air heating and cooling systems, while others support heat pumps, multi-stage systems or smart home features.
Always turn off power to your heating and cooling system before removing the old thermostat or touching any thermostat wires. Power is usually turned off at the circuit breaker, furnace switch or HVAC equipment service switch.
f you are unsure how to turn off power safely, if your wiring does not match the thermostat instructions or if your system uses high-voltage wiring, contact a licensed HVAC professional.
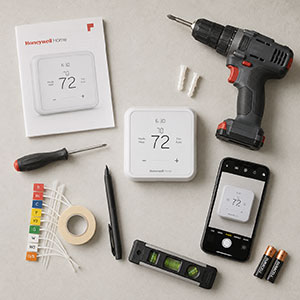
Start by turning off power to your heating and cooling system. This helps protect the thermostat, HVAC equipment and wiring during installation.
After turning off power, check the old thermostat display. If the display turns off, that is a good sign power has been disconnected. However, some battery-powered thermostats may still show information on the screen even after system power is off.
Do not begin disconnecting wires until you are confident the system power is off.
Carefully remove the faceplate or cover from the existing thermostat. Some covers pull straight off, while others may have screws or tabs that need to be loosened.
Once the cover is removed, you should be able to see the thermostat wires connected to labeled terminals on the old base plate.
Before disconnecting anything, take a clear photo of the existing wiring. This photo can be helpful if you need to double-check how the old thermostat was connected.
Label each wire based on the terminal letter it is connected to, not only by the wire color. For example, a wire connected to the R terminal should be labeled R, even if the wire color is not red.
Common thermostat terminals may include R, Rc, Rh, W, Y, G, C and O/B. Your system may not use every terminal.
If you are installing a smart thermostat, look for a C-wire, also called a common wire. Many smart thermostats need a C-wire or compatible power adapter to provide continuous power.
Once the wires are labeled, loosen the terminal screws or release the wire clips on the old thermostat base. Gently pull each wire free.
Be careful not to let the wires fall back into the wall. You can wrap the wires around a pencil or lightly tape them to the wall while you remove the old base plate.
After the wires are secure, remove the screws holding the old base plate to the wall.
Pull the labeled wires through the opening in the new Honeywell thermostat base plate. Position the base plate against the wall and use a level if needed.
Mark the screw holes, drill pilot holes if necessary and install wall anchors if the mounting location requires them. Then fasten the base plate securely to the wall.
Do not overtighten the screws, as this could bend or damage the base plate.
If you are learning how to install a non programmable thermostat, the wiring process may be simpler than a smart thermostat installation, but the same rule applies: connect wires by terminal label, not by color alone.
If your old thermostat had jumper wires, separate Rc and Rh wires or unused wires, follow the instructions for your specific Honeywell thermostat model.
The wire colors shown are commonly used for thermostat installations, but colors may vary between systems. Always identify each wire by the terminal label on your existing thermostat (not by color alone) before connecting it to your new Honeywell thermostat.
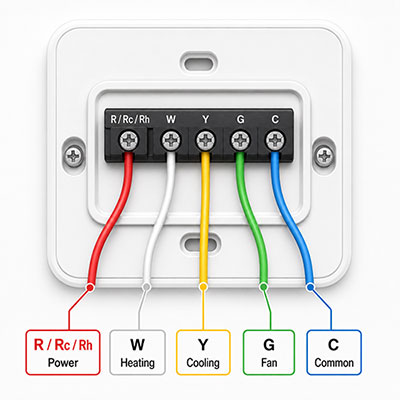
Smart thermostat installation may include additional setup steps because many smart thermostats require continuous power, Wi-Fi connection and app-based configuration. Before installing a Honeywell smart thermostat, confirm that your HVAC system is compatible and check whether a C-wire is required.
A C-wire helps provide steady power to smart thermostats. If your existing thermostat wiring includes a wire connected to the C terminal, label it and connect it to the C terminal on the new thermostat base.
If you do not have a C-wire, your thermostat may require a C-wire adapter, power adapter or alternate wiring setup. Do not guess or force a connection. Use the instructions for your specific smart thermostat model.
After wiring is complete, many smart models will guide you through equipment setup, Wi-Fi connection and app pairing.
Once the thermostat is mounted and wired, attach the display or faceplate to the base. Make sure it clicks or seats firmly into place.
Your HVAC equipment may take several minutes to respond after changing modes or adjusting the temperature. This delay can be normal and may help protect the system.
After installation, test each thermostat function one at a time. Start with the system mode that matches the current season or indoor conditions.
Set the thermostat to heat mode and raise the temperature setting above the current room temperature. Wait for the heating system to respond. If the heat does not turn on, check the thermostat mode, wiring, breaker and furnace power switch.
Set the thermostat to cool mode and lower the temperature setting below the current room temperature. Wait for the cooling system to respond. Some systems have a built-in compressor protection delay, so the air conditioner may not start immediately.
Switch the fan setting from auto to on. If the fan runs, return the setting to auto unless you want the fan to run continuously.
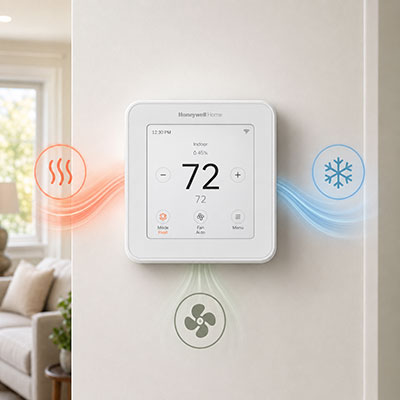
If the thermostat does not power on, does not control the system correctly or shows an error during setup, turn power back off and review the wiring against your original photo and model-specific installation guide.
Many thermostat installations are straightforward, but some systems require professional help. Contact an HVAC technician if you have high-voltage wiring, thick wires with wire nuts, unlabeled wires, missing compatibility information, a heat pump setup you are unsure about or a system that does not respond after installation.
You should also get professional assistance if you are uncomfortable working around electrical components or if your Honeywell thermostat installation instructions do not match your existing wiring.
Many homeowners can install a compatible low-voltage Honeywell thermostat themselves by turning off power, labeling wires, mounting the base plate and following the model-specific instructions. If your wiring is unclear or your system is not compatible, professional installation is recommended.
Use the terminal labels from your old thermostat, not wire color alone. Take a photo before disconnecting the old thermostat and label each wire with the terminal letter it was connected to.
Many smart thermostats need a C-wire or compatible adapter for continuous power. Check the requirements for your specific thermostat model before installation.
To install a non-programmable thermostat, turn off HVAC power, remove the old thermostat, label the wires, mount the new base plate, connect each wire to the matching terminal, attach the thermostat and restore power.
Check that HVAC power has been restored, the thermostat is seated correctly on the base, batteries are installed if required and the wires are securely connected to the correct terminals. If the display remains blank, turn power off and review the wiring or contact a professional.
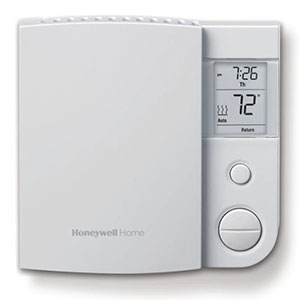
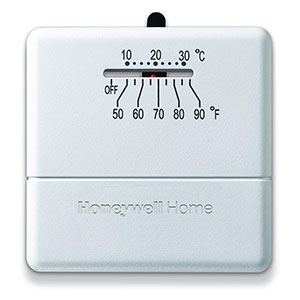
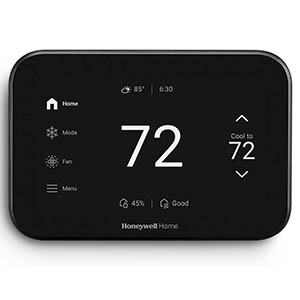
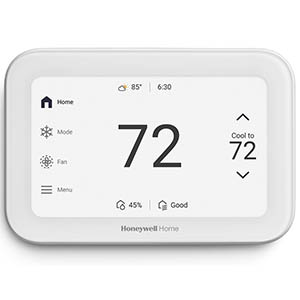
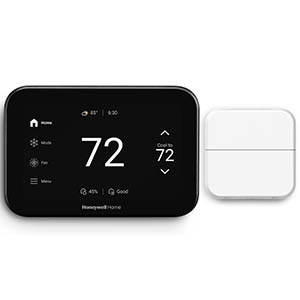
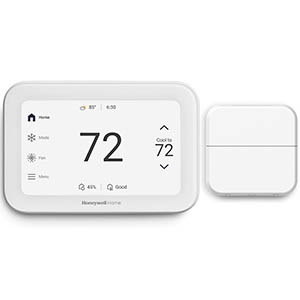
Explore related support articles and resources for this topic.
Find Honeywell thermostat support for choosing the right model, installation, wiring, programming, troubleshooting, battery replacement, resets and everyday use.
Contact options may differ depending on the type of help you need.