


Thermostat Guides and Support
Find Honeywell thermostat support for choosing the right model, installation, wiring, programming, troubleshooting, battery replacement, resets and everyday use.
Related Topics:
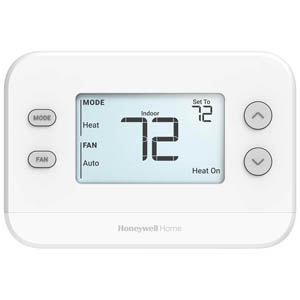
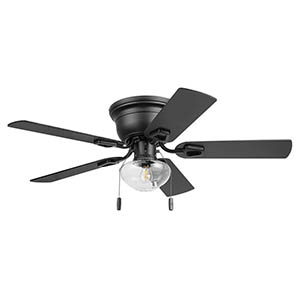
Learn how to safely replace an old wall thermostat, check HVAC compatibility, label existing wires, mount a new wall plate and test heating and cooling operation.
This Thermostat replacement guide is designed for homeowners who are changing out a thermostat and want to understand the safest way to remove an old thermostat and install a compatible new model. Whether you are replacing a basic thermostat or upgrading to a smart thermostat, the most important steps are confirming system type, shutting off power, documenting the wiring and following the instructions for your specific thermostat model.
Most Honeywell retail thermostats used for central heating and cooling systems are designed for low-voltage 24V HVAC systems. They should not be installed on line-voltage 120V or 240V systems unless the thermostat is specifically rated for that application. If your existing wiring does not match the new thermostat instructions, stop and contact a licensed HVAC professional.
Before learning how to replace a thermostat, confirm that the new thermostat is compatible with your heating and cooling system. Compatibility depends on system voltage, system type, wiring, power requirements and whether your home uses a conventional furnace and air conditioner, heat pump, boiler, multi-stage system or other HVAC equipment.
If you are unsure about any item on this hvac compatibility checklist, professional installation is recommended.
The first step in replacing a thermostat is confirming the type of system you have. Many central HVAC systems use low-voltage 24V thermostat wiring. Low-voltage thermostat wires are usually small, thin wires connected to terminals labeled with letters such as R, W, Y, G, C, O/B, AUX or E.
Line-voltage thermostats are different. They may control 120V or 240V electric heat and often use thicker wires, wire nuts or wiring that looks more like standard household electrical wiring. Standard low-voltage Honeywell thermostats should not be used on a line-voltage system.
Do not assume your thermostat is low-voltage just because it is mounted on a wall. Before removing wires, check the old thermostat, wiring style and system type.
Installing the wrong thermostat type can damage equipment and create a safety hazard.
Safe power-down is required before removing the old thermostat faceplate or touching thermostat wires. Turn off power to your HVAC system at the circuit breaker panel. Depending on your system, there may also be a furnace switch, air handler switch or HVAC service disconnect.
Some battery-powered thermostats may still show information on the screen after HVAC power is off. A display that remains on does not always mean the system is still powered.
Once power is off, carefully remove the old thermostat faceplate. Some thermostat covers pull straight off, while others may have screws, clips or tabs. Avoid pulling too hard, especially if the thermostat is older or mounted to a fragile wall surface.
After the faceplate is removed, you should see the old wall plate and the connected thermostat wires. Do not disconnect anything yet.
Before removing old thermostat wires, take a clear photo of the wiring. Make sure the photo shows each wire and the terminal letter it is connected to.
This photo is one of the most important steps when changing out a thermostat because it gives you a reference if a wire label falls off, a terminal is confusing or the new thermostat instructions require comparison with the old setup.
Take more than one photo if needed, including a close-up of the terminal labels and a wider photo showing the full wall plate.
Label each wire based on the terminal letter it is connected to on the old thermostat, not simply by wire color. For example, if a green wire is connected to the Y terminal, label it Y. Wire colors are helpful clues, but terminal letters are the safer guide.
If a wire falls back into the wall, do not blindly fish for it with metal tools near electrical components. Turn power off, keep the area safe and contact a professional if needed.
After the wires are labeled and secured, remove the screws holding the old wall plate to the wall. Pull the wall plate away carefully while keeping the wires accessible.
Older thermostats may leave paint lines, screw holes or a larger uncovered wall area. If the new thermostat is smaller than the old one, you may need a wall cover plate, trim plate or light wall repair before mounting the new thermostat.
A clean, flat mounting surface helps the thermostat sit securely and look finished after replacement.
Pull the labeled wires through the opening in the new wall plate. Position the wall plate so it is level and covers the desired wall area. Mark the screw holes, install anchors if needed and secure the wall plate to the wall.
Do not overtighten the screws. Overtightening may bend the wall plate, make the thermostat harder to attach or cause the display to sit unevenly.
Connect each labeled wire to the matching terminal on the new thermostat wall plate. The letters on the wire labels should guide the connection, but always compare them with your thermostat’s installation instructions.
If you are upgrading to a smart thermostat, pay close attention to the C terminal. Many smart thermostats require a C-wire or compatible power adapter for continuous 24V power. If your old thermostat did not use a C-wire, check whether an unused wire is available or whether a C-wire adapter is supported.
If the new thermostat uses different terminal labels than the old thermostat, stop and review the model-specific wiring guide before continuing.
Some older thermostats use a jumper wire between Rc and Rh. Some newer thermostats use an internal jumper or setup setting instead. Do not automatically reuse an old jumper wire unless your new thermostat instructions say to do so.
Heat pump systems may use O/B, AUX, W2 or E terminals. If you have a heat pump, make sure the new thermostat supports your system type and is configured correctly during setup.
After the wall plate is mounted and wired, attach the thermostat display or faceplate to the base. Make sure it is seated evenly and fully connected.
Some systems may take a few minutes to respond after power is restored.
Initial system testing helps confirm that the replacement thermostat is controlling your HVAC equipment correctly. Test one function at a time and allow the system enough time to respond.
Set the thermostat to Heat mode and raise the set temperature several degrees above the current room temperature. Wait for the heating system to start. If heat does not turn on, check the mode setting, wire connections, breaker and furnace switch.
Set the thermostat to Cool mode and lower the set temperature several degrees below the current room temperature. Wait for the cooling system to start. Air conditioners may have a built-in compressor protection delay, so cooling may not begin immediately.
Change the fan setting from Auto to On. If the indoor blower runs, return the setting to Auto unless you want continuous fan operation.
If the system behaves unexpectedly after replacement, turn the power off and review the wiring against your original photo and installation manual.
Contact an HVAC professional if your old thermostat has thick wires, wire nuts, high-voltage labeling, damaged wires, unknown terminals, multiple extra wires, heat pump auxiliary heat, zone control wiring or a setup that does not match the new thermostat manual.
You should also get professional help if the new thermostat will not turn on, the heating or cooling runs incorrectly, the fan does not respond or you are unsure whether the thermostat is compatible with your HVAC system.
Check that the thermostat is seated correctly on the wall plate, the breaker and furnace switch are on, batteries are installed if required and each wire is securely connected to the correct terminal. If the thermostat needs a C-wire, confirm that the C connection or adapter is installed correctly.
If the new thermostat is smaller than the old one, use a compatible wall cover plate or trim plate for a clean installation. For larger holes or damaged drywall, patch the wall, sand it smooth and paint the area before mounting the new thermostat.
You may be able to replace a compatible low-voltage mercury thermostat yourself, but handle the old thermostat carefully and do not break the mercury bulb. Mercury thermostats should be recycled or disposed of according to local hazardous waste rules, not thrown in regular trash.
Turn off HVAC power first, remove the faceplate, take a clear photo, label each wire by terminal letter and disconnect one wire at a time. Secure the wires so they do not fall into the wall before removing the old wall plate.
Sometimes, yes. If the new thermostat is compatible with your HVAC system and uses the same terminal functions, you may be able to connect the existing labeled wires to the matching terminals. Always check the new thermostat instructions before assuming the wiring is the same.
Do not guess or leave important wires disconnected without checking the manual. Extra wires may support auxiliary heat, fan control, a C-wire, a heat pump reversing valve or other system features. Confirm compatibility before completing the replacement.
A new thermostat may support more system types than your home uses, so not every terminal will be needed. Connect only the wires required for your system according to the installation guide. Do not add wires to unused terminals unless instructed.
Many smart thermostats need a C-wire or compatible power adapter for continuous power. Check your specific model requirements before installation. If no C-wire is present, a C-wire adapter or professional wiring update may be needed.
Many systems have a compressor protection delay that prevents the air conditioner from starting immediately after a power cycle or setting change. Wait several minutes before assuming there is a wiring or thermostat problem.
Call a professional if you have line-voltage wiring, unclear terminals, damaged wires, a heat pump with auxiliary heat, multiple zones or a new thermostat that does not work after installation. Professional help is also recommended if you are uncomfortable working around HVAC wiring.
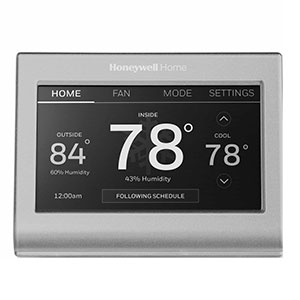
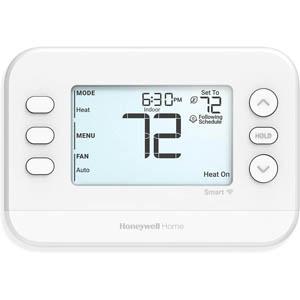
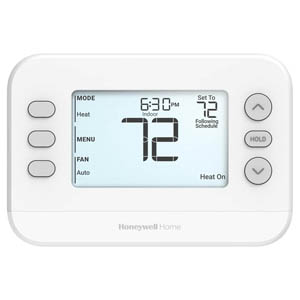
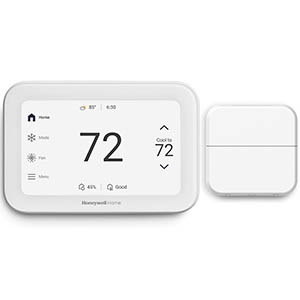
Explore related support articles and resources for this topic.
Find Honeywell thermostat support for choosing the right model, installation, wiring, programming, troubleshooting, battery replacement, resets and everyday use.
Contact options may differ depending on the type of help you need.