





Humidifier Guides and Support
Find Honeywell humidifier setup, cleaning, filter, water, indicator light, white dust, buying, and troubleshooting guides for common models and types.
Related Topics:
Correct setup helps your Honeywell Humidifier distribute moisture effectively while protecting nearby floors, walls and furniture. This guide explains where to place a Honeywell humidifier, how to choose an appropriate humidity setting and which type of water works best for evaporative and ultrasonic models.
Honeywell Humidifiers vary by model. Before setup, consult your owner’s manual for product-specific placement, filling, filter and electrical instructions.
When deciding where to place Honeywell humidifier models, look for an open, stable location that allows moisture to circulate without settling on nearby surfaces. Avoid placing the unit directly against a wall, beneath a shelf or next to furniture that could absorb moisture.
For most tabletop units, position the humidifier approximately 2-3 feet above the floor. A sturdy table, dresser or waterproof stand can help disperse moisture more evenly than placing the unit directly on carpet or hardwood.
The surface must be firm, flat, level and water resistant. Do not place the humidifier on an unstable stool, soft towel or uneven surface. If the only available surface is wood or another moisture-sensitive material, place a waterproof tray or protective mat beneath the unit and check the area regularly for dampness.
Larger console humidifiers may be designed for floor placement. Always follow the placement instructions supplied with the specific model rather than elevating a unit that is intended to remain on the floor.
Keep the humidifier at least 12 inches from walls, furniture, curtains, bedding and other objects. Direct a visible mist outlet toward the center of the room instead of toward a wall or absorbent surface. Adequate clearance helps prevent localized moisture, peeling finishes, mildew and mold growth.
Also avoid placing the humidifier:
For effective Honeywell humidifier placement in a bedroom, use a dresser, table or stable stand with adequate clearance on every side. Keep the unit approximately 3-4 feet from the bed when space permits, and do not aim the mist directly at a sleeper, mattress, pillows or upholstered headboard.
A bedside table may be suitable only if it provides enough distance from the bed and is large enough to hold the humidifier securely. If bedding, walls or nearby surfaces feel damp in the morning, reduce the output or move the unit farther away.
Place the humidifier where children cannot reach the unit, water tank or power cord. Direct the mist away from the crib, changing table, wall and bedding. A cool-mist model avoids the hot water and steam associated with warm-mist humidifiers, but it must still be positioned securely and kept out of reach.
Never place a humidifier inside a crib, on a crib rail or on unstable nursery furniture. If using a warm-mist model, follow all hot-water and steam warnings in its owner’s manual and keep it completely inaccessible to children and pets.
In a living room or other shared space, place the humidifier in an open part of the room where moisture can mix with circulating air. Avoid corners, enclosed shelving and locations directly beside wood furniture, televisions or other electronics.
Choose a model rated for the approximate room size. A unit that is too large for a small, closed room may raise humidity too quickly, while an undersized humidifier may run continuously without reaching the desired humidity level.
People frequently ask, “what percent should humidifier be set to?” For most homes, the recommended range is 30%-50% relative humidity. This range can improve comfort during dry conditions without introducing excessive moisture into the room.
A setting of approximately 40% is a sensible starting point. Use the humidifier’s built-in humidistat or a separate digital hygrometer to monitor conditions. Increase or decrease the setting gradually based on the measured humidity and what you observe around the room.
Condensation on windows, fogged glass, damp walls or moisture around the humidifier are signs that the room may be receiving too much moisture. Condensation can appear before the humidistat reaches 50%, especially during cold weather when window glass and exterior walls are much colder than the indoor air.
If you notice condensation on windows or other surfaces:
Continue reducing output until windows and walls remain dry. During very cold weather, the appropriate indoor humidity setting may need to be closer to 30% than 50%.
If your Honeywell Humidifier has a built-in humidistat, select the desired relative humidity rather than simply running the unit continuously at its highest output. Start near 40%, allow the unit and room conditions time to stabilize, and then check the humidity with the display or a separate hygrometer.
Some models use numbered output levels instead of a percentage. Begin with a low or medium setting, monitor the room for several hours and make small adjustments. The correct setting is the lowest output that maintains comfortable humidity without creating dampness or condensation.
Lower the output, reposition the unit or turn it off until the excess moisture clears.
The answer to “can I use tap water in Honeywell humidifier models?” depends primarily on how the humidifier produces moisture.
Evaporative humidifiers: Tap water is generally acceptable because the wicking filter absorbs water while a fan moves moisture into the air. Minerals tend to collect in the filter instead of being released as visible mist. Hard water can still shorten filter life and create mineral deposits, so inspect and replace the filter as directed.
Ultrasonic humidifiers: These models use high-frequency vibration to produce a fine visible mist. Minerals in tap water can travel with that mist and settle on nearby surfaces as white dust. Distilled or demineralized water is the better choice, particularly in homes with hard water.
Warm-mist humidifiers: Many models can use tap water, but minerals may accumulate on the heating element and increase cleaning requirements. Distilled water may help reduce scale. Follow the instructions for the specific model.
The best water for cool mist depends on whether the humidifier is evaporative or ultrasonic. Tap water is usually practical for a filtered evaporative model, while distilled water for humidifier use is preferred in an ultrasonic model because it contains very few dissolved minerals.
Filtered drinking water is not necessarily the same as distilled water. Many household filters improve taste and odor but leave dissolved minerals behind, so filtered water may still produce white dust in an ultrasonic humidifier.
| Water Type | Evaporative Models | Ultrasonic Models | What to Know |
|---|---|---|---|
| Tap Water | Generally suitable | May be used if permitted, but not preferred | Hard water can create scale, shorten filter life and cause white dust from ultrasonic models. |
| Filtered Water | Generally suitable | Better only if the filter removes minerals | Standard pitcher or refrigerator filters may not remove the dissolved minerals responsible for white dust. |
| Distilled Water | Suitable but not always necessary | Recommended | Contains very few minerals and helps minimize scale and white dust. |
| Demineralized Water | Suitable | Recommended | Designed to contain fewer dissolved minerals than regular tap water. |
| Mineral or Spring Water | Not preferred | Avoid unless the manual permits it | Added or naturally occurring minerals can increase deposits and white dust. |
If an ultrasonic humidifier leaves white dust on furniture or other surfaces, switch to distilled or demineralized water. Some compatible models may also accept a demineralization cartridge. If the owner’s manual permits it, mixing distilled water with tap water may reduce white dust, but using distilled water provides greater mineral reduction.
White dust is different from household dust. It is primarily made up of minerals carried out of the tank in the ultrasonic mist. Regular cleaning removes mineral deposits from the humidifier, but changing the water source is usually the most effective way to reduce the dust released into the room.
Placement and settings may need to change with the weather. Cold outdoor temperatures can increase condensation on windows even when the humidifier setting previously worked well. Monitor indoor relative humidity and reduce output whenever moisture appears on windows, walls or surrounding surfaces.
Empty and refill the tank with fresh water as directed, and follow the model-specific cleaning schedule. Evaporative models also require periodic wicking-filter replacement. Consistent cleaning, appropriate water and controlled humidity help the humidifier operate effectively while reducing mineral buildup and unwanted moisture.
For exact filling, cleaning, filter replacement and safety instructions, locate the model number on the humidifier and refer to the corresponding Honeywell owner’s manual.
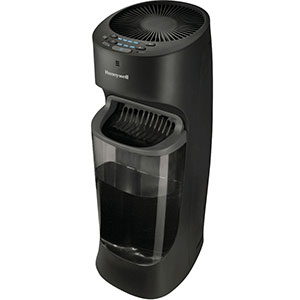
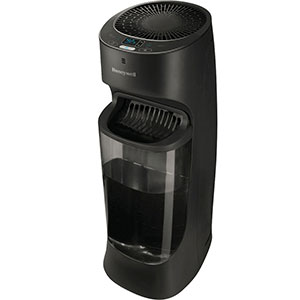
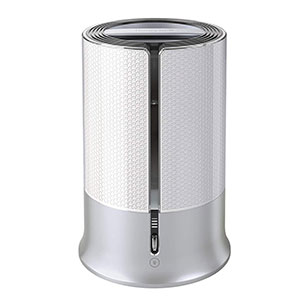
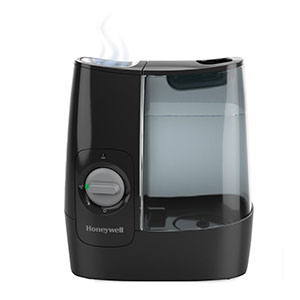
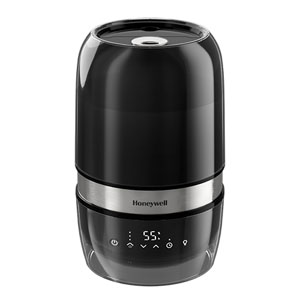
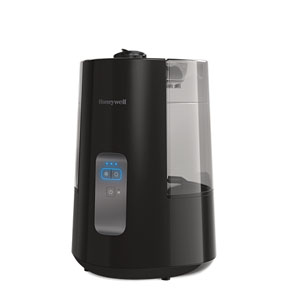
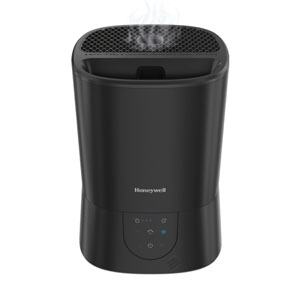
Explore related support articles and resources for this topic.
Find Honeywell humidifier setup, cleaning, filter, water, indicator light, white dust, buying, and troubleshooting guides for common models and types.
Contact options may differ depending on the type of help you need.